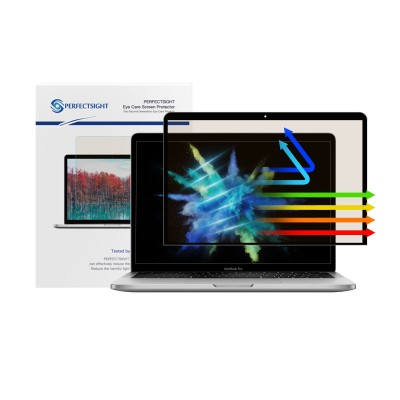
How to Install a Bubble-Free Screen Protector on Your MacBook?
In today's digital age, protecting your MacBook screen from scratches and dirt is essential. Installing a screen protector is an ideal solution, but you may be concerned about bubble formation. This article provides detailed steps and tips to help you successfully install a bubble-free screen protector on your MacBook.

Preparing to Install a Bubble-Free Screen Protector
Before you start the installation, gather the following materials:
High-Quality Screen Protector: Choose a bubble-free screen protector that is compatible with your MacBook model.
Cleaning Supplies:
Microfiber cloth
Alcohol wipes or cleaning solution
Bubble scraper (usually included with the screen protector)
Dust-Free Environment: Install in an area with minimal dust, such as indoors.
Steps to Install a Bubble-Free Screen Protector
1. Clean the Screen
Use alcohol wipes or a cleaning solution to gently wipe down the MacBook screen, removing dust, dirt, and fingerprints. Ensure that the screen is clean and dry.
2. Prepare the Screen Protector
Carefully peel off the backing of the screen protector, taking care not to touch the adhesive side. If the protector has a dual-sided design, follow the instructions provided.
3. Align the Protector
Align the protector with the edges of your MacBook screen, making sure the cutouts for the front-facing camera and sensors are accurate. Hold one side down while keeping the other side elevated.
4. Apply the Protector
Once aligned, gently lower the screen protector onto the screen from one edge to the other, using the bubble scraper to push any bubbles out towards the edges.
5. Remove Bubbles
If you notice bubbles under the screen protector, don't worry! Follow these steps to remove them:
Gently Press: Use the bubble scraper to push from the center of the bubble outward towards the edges.
Use a Needle: If there is a particularly large bubble that won't budge, you can pierce it with a sanitized needle, then use the scraper to push the air out.
6. Final Check
Once installed, carefully inspect the screen protector to ensure it is smooth and that the edges are adhered properly. If bubbles remain, you can address them one last time.
Tips for Success
Choose the Right Environment: Install the screen protector in a clean, low-wind environment to minimize dust and bubble formation.
Temperature Considerations: Avoid installing in extreme temperatures, whether too hot or too humid, to ensure optimal adhesion.
Be Patient: The installation process may take some time and skill, but careful handling will yield the best results without bubbles.

By following the steps outlined above, you can easily install a bubble-free screen protector on your MacBook. A high-quality screen protector effectively protects your device and extends its lifespan. Remember to be patient and maintain a clean and suitable environment during the installation process for the best outcome.