How to Clean Sticky Side of Screen Protector?
Cleaning the adhesive side of your screen protector is critical to ensuring better adhesion when it is reapplied. Over time, dust, lint, and other debris can build up on the adhesive surface, which can affect its effectiveness. Below is a step-by-step guide on how to properly clean the adhesive side of your screen protector.
Supplies needed:
Microfiber cloth: for cleaning the non-adhesive side of the screen protector.
Cotton swabs: for detailed cleaning of the sticky side.
Isopropyl Alcohol or mild cleaning solution: to help dissolve any stubborn residue.
Distilled water: for dilution (if necessary).
Spray bottle: for mixing and applying the cleaning solution.
Tape: optional, to remove stubborn dust particles.
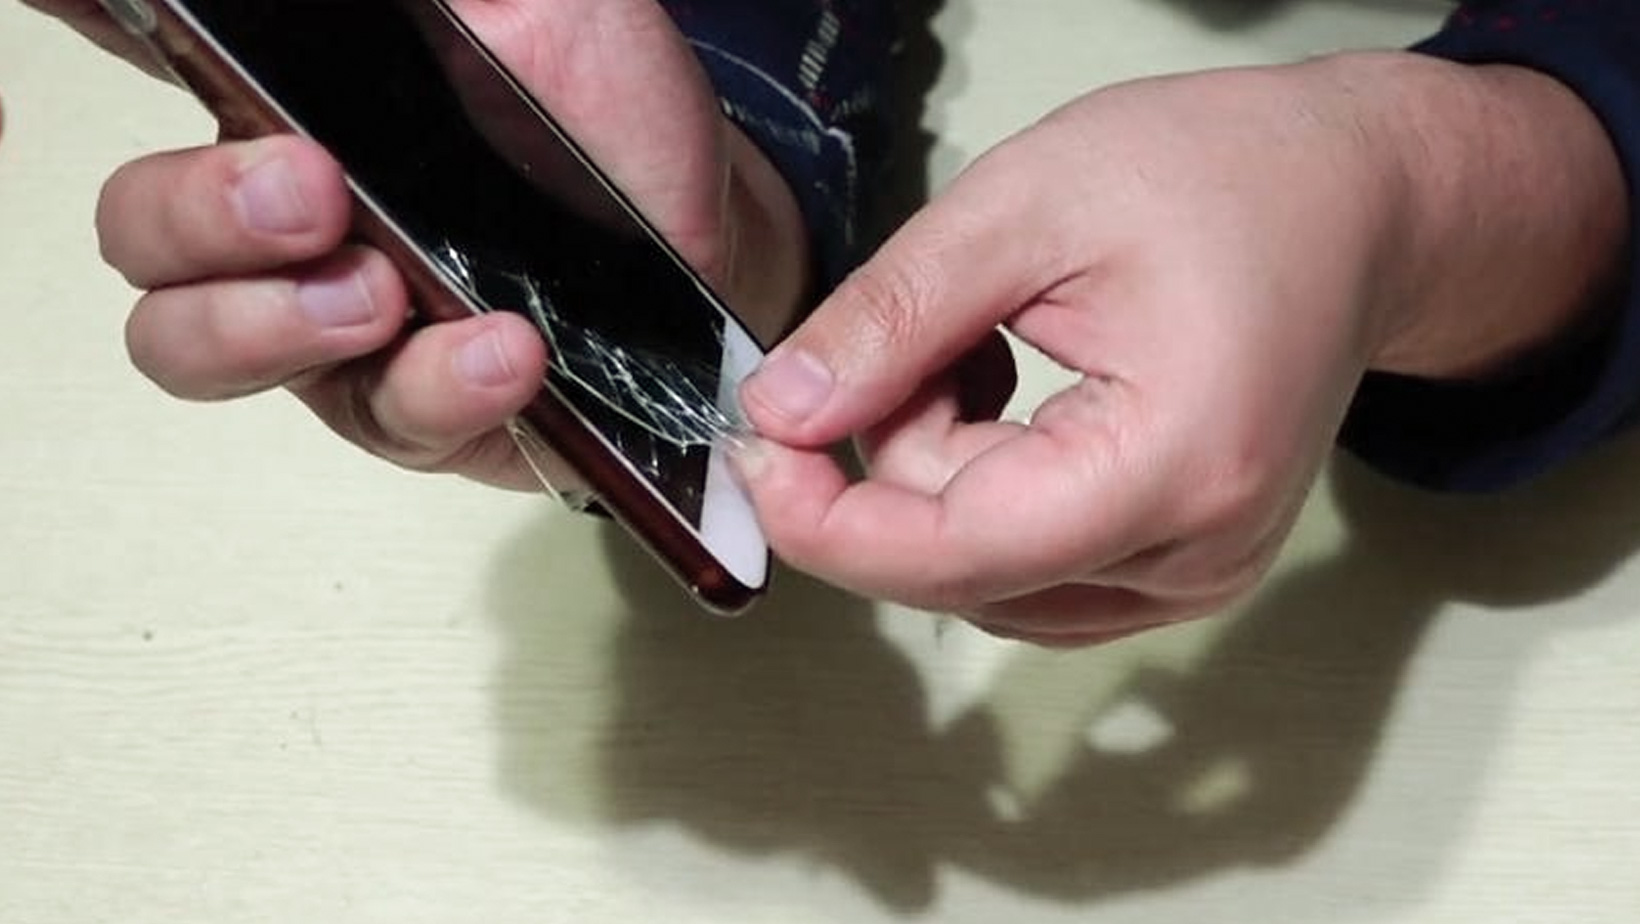
Step 1: Remove the Screen Protector
Carefully remove the screen protector from the device. Starting from one corner, lift it up slowly to avoid bending or damaging it. Be sure to hold it gently, as removing it with force may cause the screen to crack or break.
Step 2: Remove debris and dust
After removing the screen protector, inspect both sides. Use a microfiber cloth to gently wipe the non-adhesive side of the screen protector to remove dust and debris. If you see any residual particles, you can gently peel them off using tape.
Step 3: Make a Cleaning Solution
To clean the sticky side, you can make a simple cleaning solution. Mix 1 part isopropyl alcohol with 1 part distilled water in a spray bottle. If you prefer a milder solution, you can just use distilled water.
Step 4: Use Cotton Swabs to Wipe Sticky Surfaces
Dip a cotton swab into the cleaning solution (make sure it's not dripping) and gently wipe the sticky side of the screen protector. Focus on areas with visible residue, adhesive, or any remaining dirt. Be careful not to over-wet the swab, as too much moisture can damage the adhesive.
Step 5: Remove Stubborn Residue
If there is a stubborn residue that cannot be removed with a cotton swab, moisten a small microfiber cloth with the cleaning solution and gently wipe the sticky area. For particularly stubborn stains, a little more force may be needed, but avoid using abrasive materials that could damage the adhesive.
Step 6: Use Clear Tape to Clean the Sticky Side (If Necessary)
Cut Tape: Cut a length of clear tape of appropriate length, take about 5-10 cm length as required.
Gently fit the tape: Gently apply one end of the tape to the sticky side of the screen protector.
Press the tape: Gently press the entire surface of the tape to ensure a snug fit, especially in areas with dirt.
Slowly peel up the tape: Remove the tape in a straight and slow motion. You will see that the tape has taken away the dirt and contaminants that have adhered to the sticky side. Repeat this step until you are satisfied.
Step 7: Drying the Screen Protector
After cleaning, allow the sticky side of the screen protector to air dry completely. This may take a few minutes. Make sure there is no lint or dust on the sticky side during this time. You may need to place it upright in a clean area to minimize contact with particles.
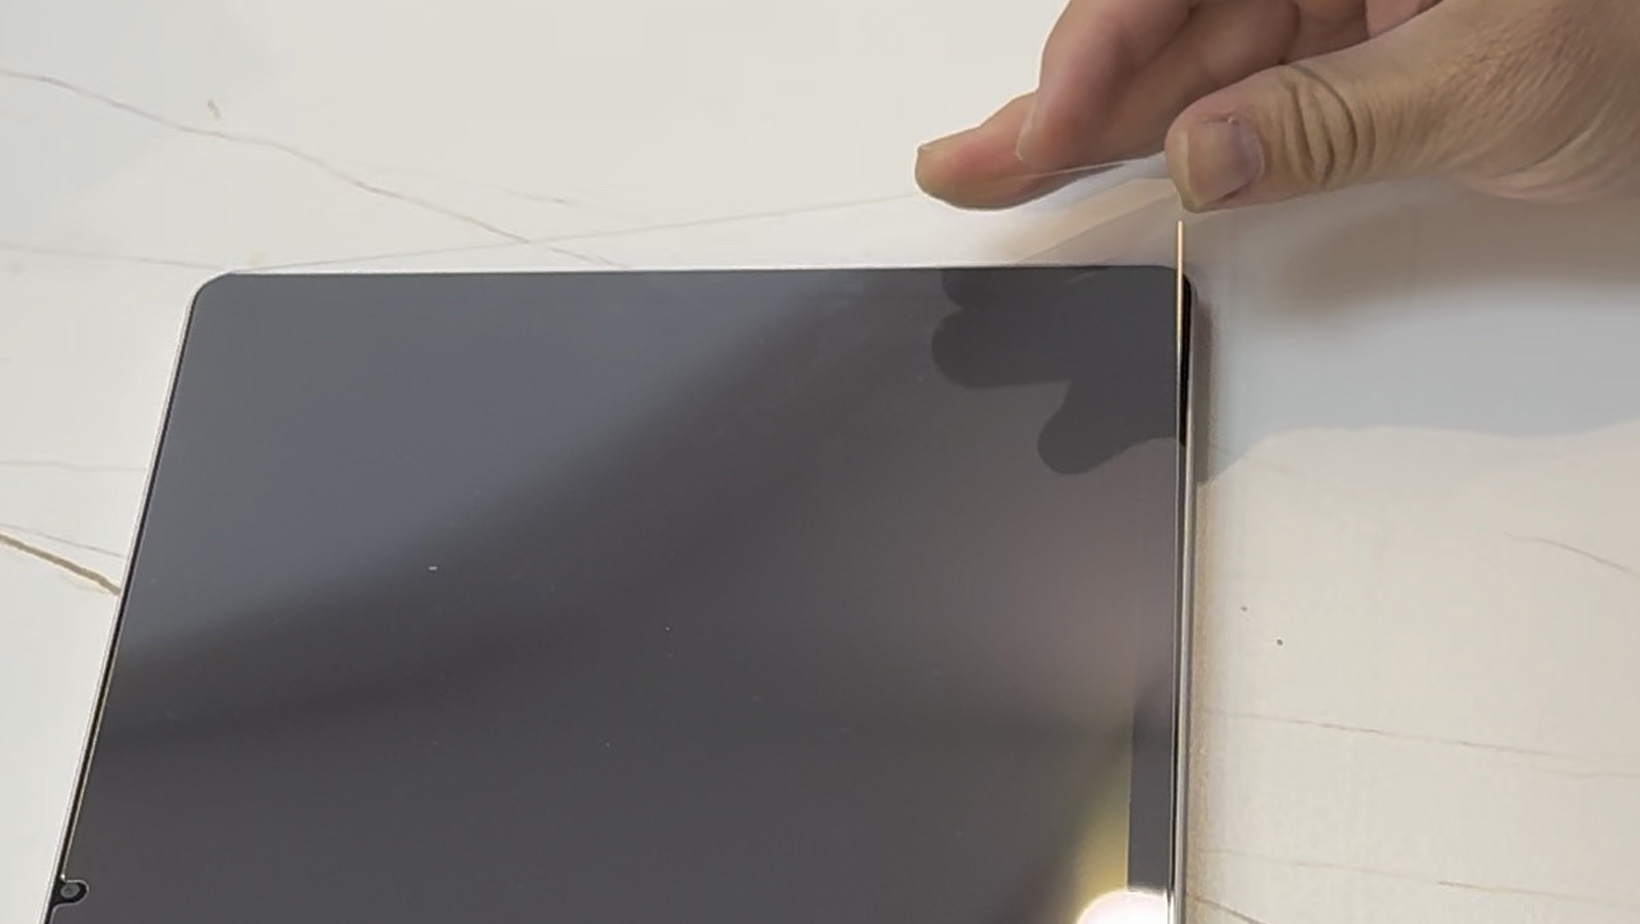
Step 8: Reapplying the Screen Protector
Once the sticky side is completely dry and clean, it's time to reapply it to your device. Carefully align the protective screen protector with your device's screen and gently press down, starting on one side and moving to the other. This will minimize the possibility of air bubbles forming underneath the protective screen protector.
Cleaning the sticky side of a screen protector may seem difficult, but by following these simple steps you can ensure an effective bond and extend the life of your screen protector.
