Installing a screen protector for your device is an essential step in keeping it safe from scratches and damage. However, the appearance of bubbles during installation can be a frustrating issue. Even with careful application, air bubbles might remain trapped under the protector. But don't worry! This guide will provide you with effective methods to easily remove bubbles from your PERFECTSIGHT screen protector, ensuring your device looks clean and polished.
Common Causes of Screen Protector Bubbles
Bubbles typically form due to several reasons:
Air Trapped: When applying the screen protector, air may become trapped underneath.
Finger Contact During Installation: Dust or grease on the device's screen can prevent the protector from adhering properly. If fingers come into contact with the adhesive side of the protector during installation, oils or dirt can lead to bubble formation.
Temperature and Humidity: Extreme temperatures or humidity levels during installation can affect the adhesive's performance, leading to bubbles.
Improper Installation Method: Failing to follow the instructions correctly or using inappropriate tools (such as a squeegee) to flatten the protector can cause bubbles.
Regardless of how the bubbles appeared, here are some simple techniques to remove them.
Preparation for a Successful Installation
To avoid bubbles in the first place, consider these preparatory steps:

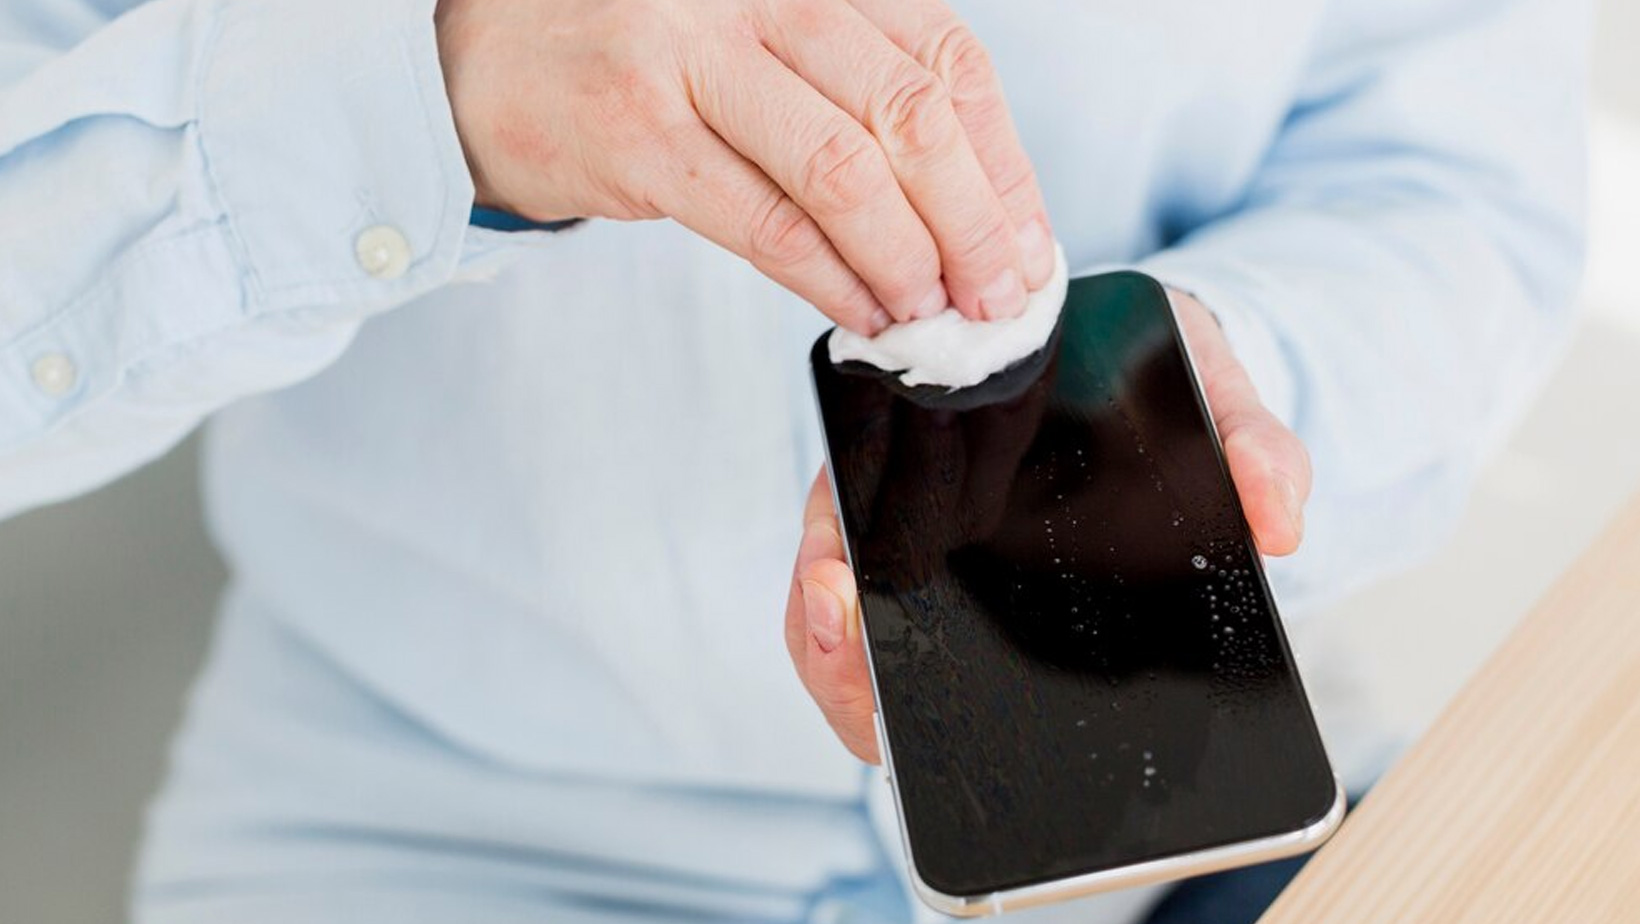
Clean the Screen: Thoroughly clean your device's screen with a microfiber cloth and screen cleaner to ensure it's free of dust, oil, or dirt.
Moderate Temperature: Install the protector in a warm, dry environment, avoiding excessively cold or hot conditions, which can affect adhesion.
How to Get Bubbles out of Screen Protector
If you find bubbles after installation, try the following methods:

Use a Credit Card or Plastic Scraper:
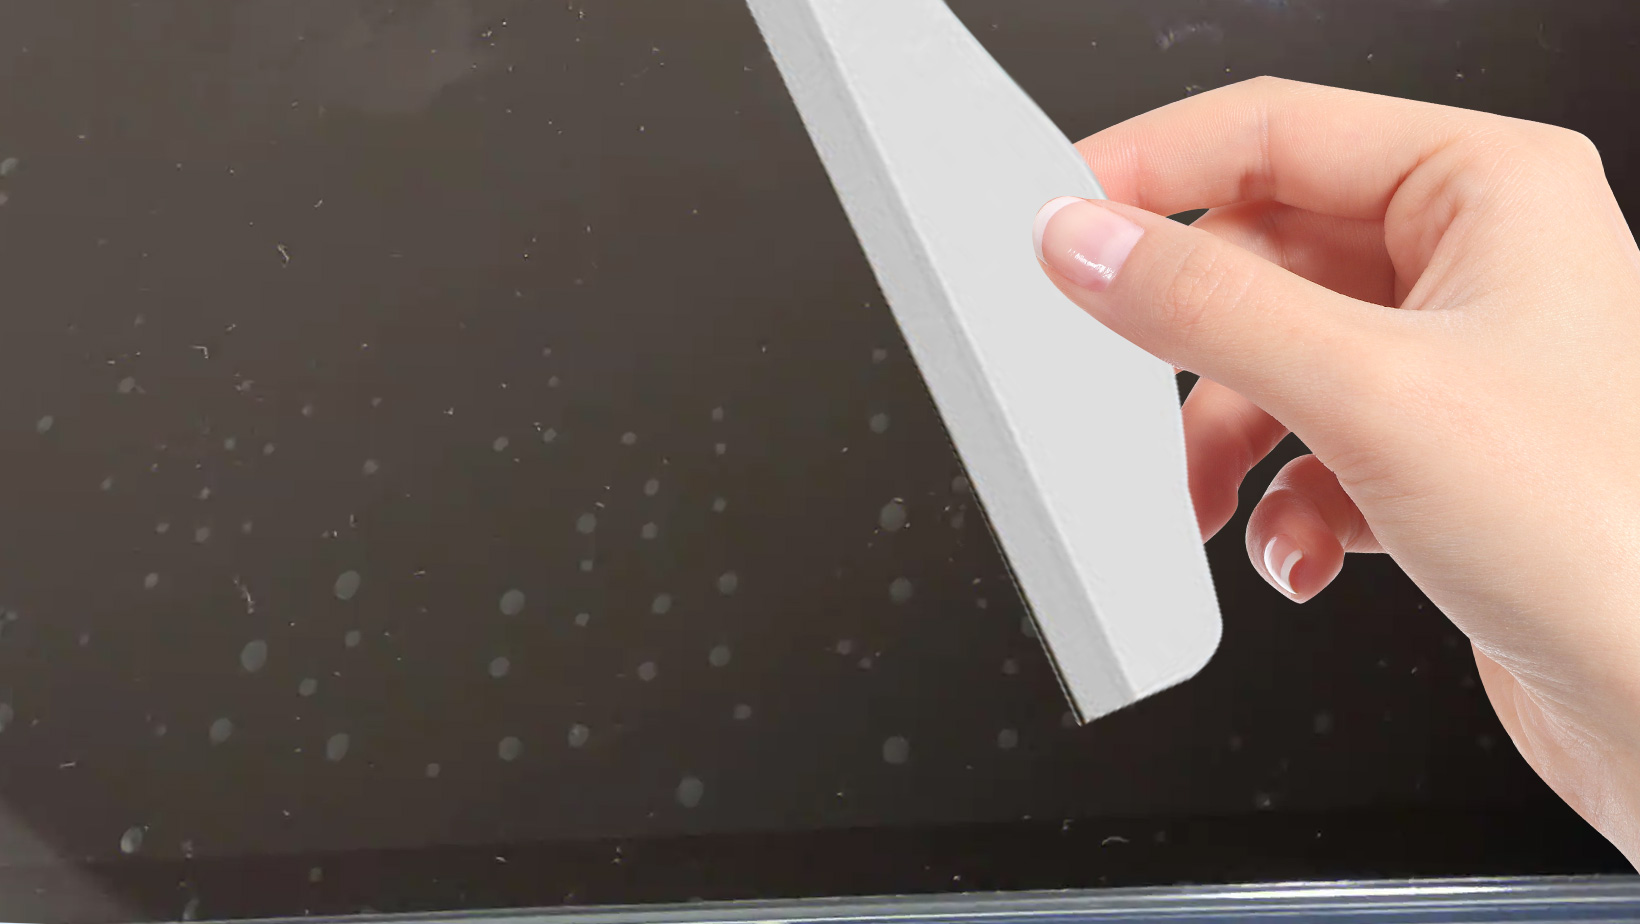
Take a credit card(make sure it’s not too rigid to avoid scratching the screen protector) or plastic scraper and gently push the bubble toward the edge of the screen. Apply moderate pressure, ensuring not to damage the screen or the screen protector. Repeat this process until the bubble is completely gone, which can help release the trapped air.
Notes: Be gentle in your movements and be patient; avoid pressing too hard.
Press with Your Finger:
Use a clean fingertip to gently press from the center of the bubble outward. Applying light pressure can help to push the bubble out. Slowly push towards the edge of the bubble to help it release. Continue pressing and pushing until the bubble is mostly gone.
Notes: Avoid pressing with long fingernails to prevent scratching the screen protector.
Heating Method:
If the bubble is stubborn, you can use a hairdryer on a low setting to carefully heat the protector. Set a hairdryer to a low heat setting and keep it at a distance (about 6-8 inches). The warmth can soften the screen protector, making it easier to press out the bubble. Be careful not to overheat the device.
Reapply the Protector:
If the above methods don't work, consider gently lifting one edge of the protector and reapplying it, making sure to smooth it out as you go to avoid new bubbles.
Letting it Sit:
If there aren't too many bubbles, you can let the device sit for a while, as the bubbles may disappear on their own.
Make sure to place the device on a flat and dry surface, avoiding pressure and vibrations.
Notes: This is a more passive method; if there are many bubbles or it affects usability, it's best to combine this with other methods.
Tips to Prevent Future Bubbles
If you want to minimize bubbles, take these precautions to prevent them from recurring:
Install Slowly: Start at one edge and gradually work your way across the screen, allowing air to escape as you apply the protector.
Use the Wet Installation Method: For certain types of screen protectors, using a wet installation method can reduce bubbles. Lightly mist the back of the protector with water before applying it, then gently squeeze out the bubbles. Click the link to watch the video.


Share:
How to remove and reapply glass screen protector from iPhone?
How to Put a Screen Protector on iPhone Properly: Step-by-Step Guide and Tips