How to remove and reapply glass screen protector from iPhone?
Sometimes, protectors can become dislodged, affecting touch sensitivity. Being able to remove them and clean the screen properly can enhance the user experience. Learning to remove phone screen protectors is a practical skill that helps in maintaining device hygiene, prolonging the screen's longevity, and ensuring a seamless transition between old and new protectors.
How to Remove the Tempered Glass Screen Protector?
1. Prepare a Clean Workspace
Find a well-lit, clean area to work in. You might want to lay a soft cloth or paper towel down to prevent any scratches.
2.Use Tape
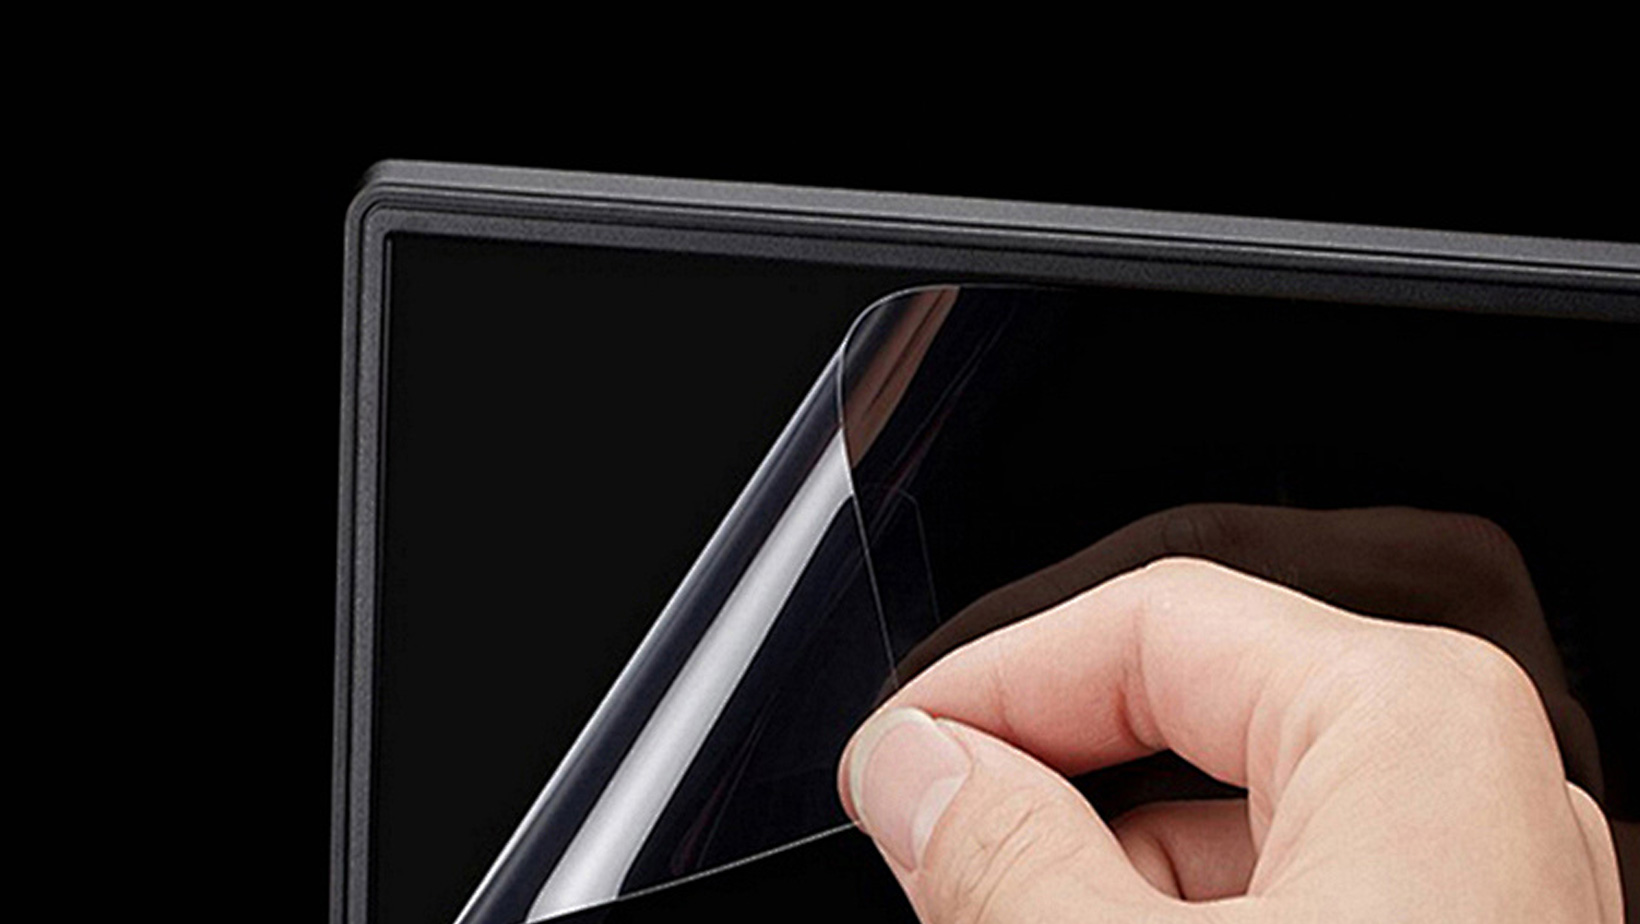
Take a piece of strong tape, like duct tape or packing tape. Fold it over itself, creating a tab to hold. Stick it onto the corner of the screen protector, ensuring it covers a good portion for a strong grip.
3.Lift Gently
Once the tape is firmly attached, gently lift the tape tab upward, slowly pulling it away from the screen. Apply consistent and even pressure, but don’t rush to avoid shattering the protector.
4. Heat if Necessary
If the protector is stubborn, use a hair dryer on low heat and hold it a few inches away from the screen for about 15-20 seconds. This can help loosen the adhesive, making it easier to remove.
Repeat if Needed: If any part remains stuck, use more tape and repeat the lifting process. Try different corners if necessary until the entire protector is removed.
5.Clean Residue With Screen Protector Wipes
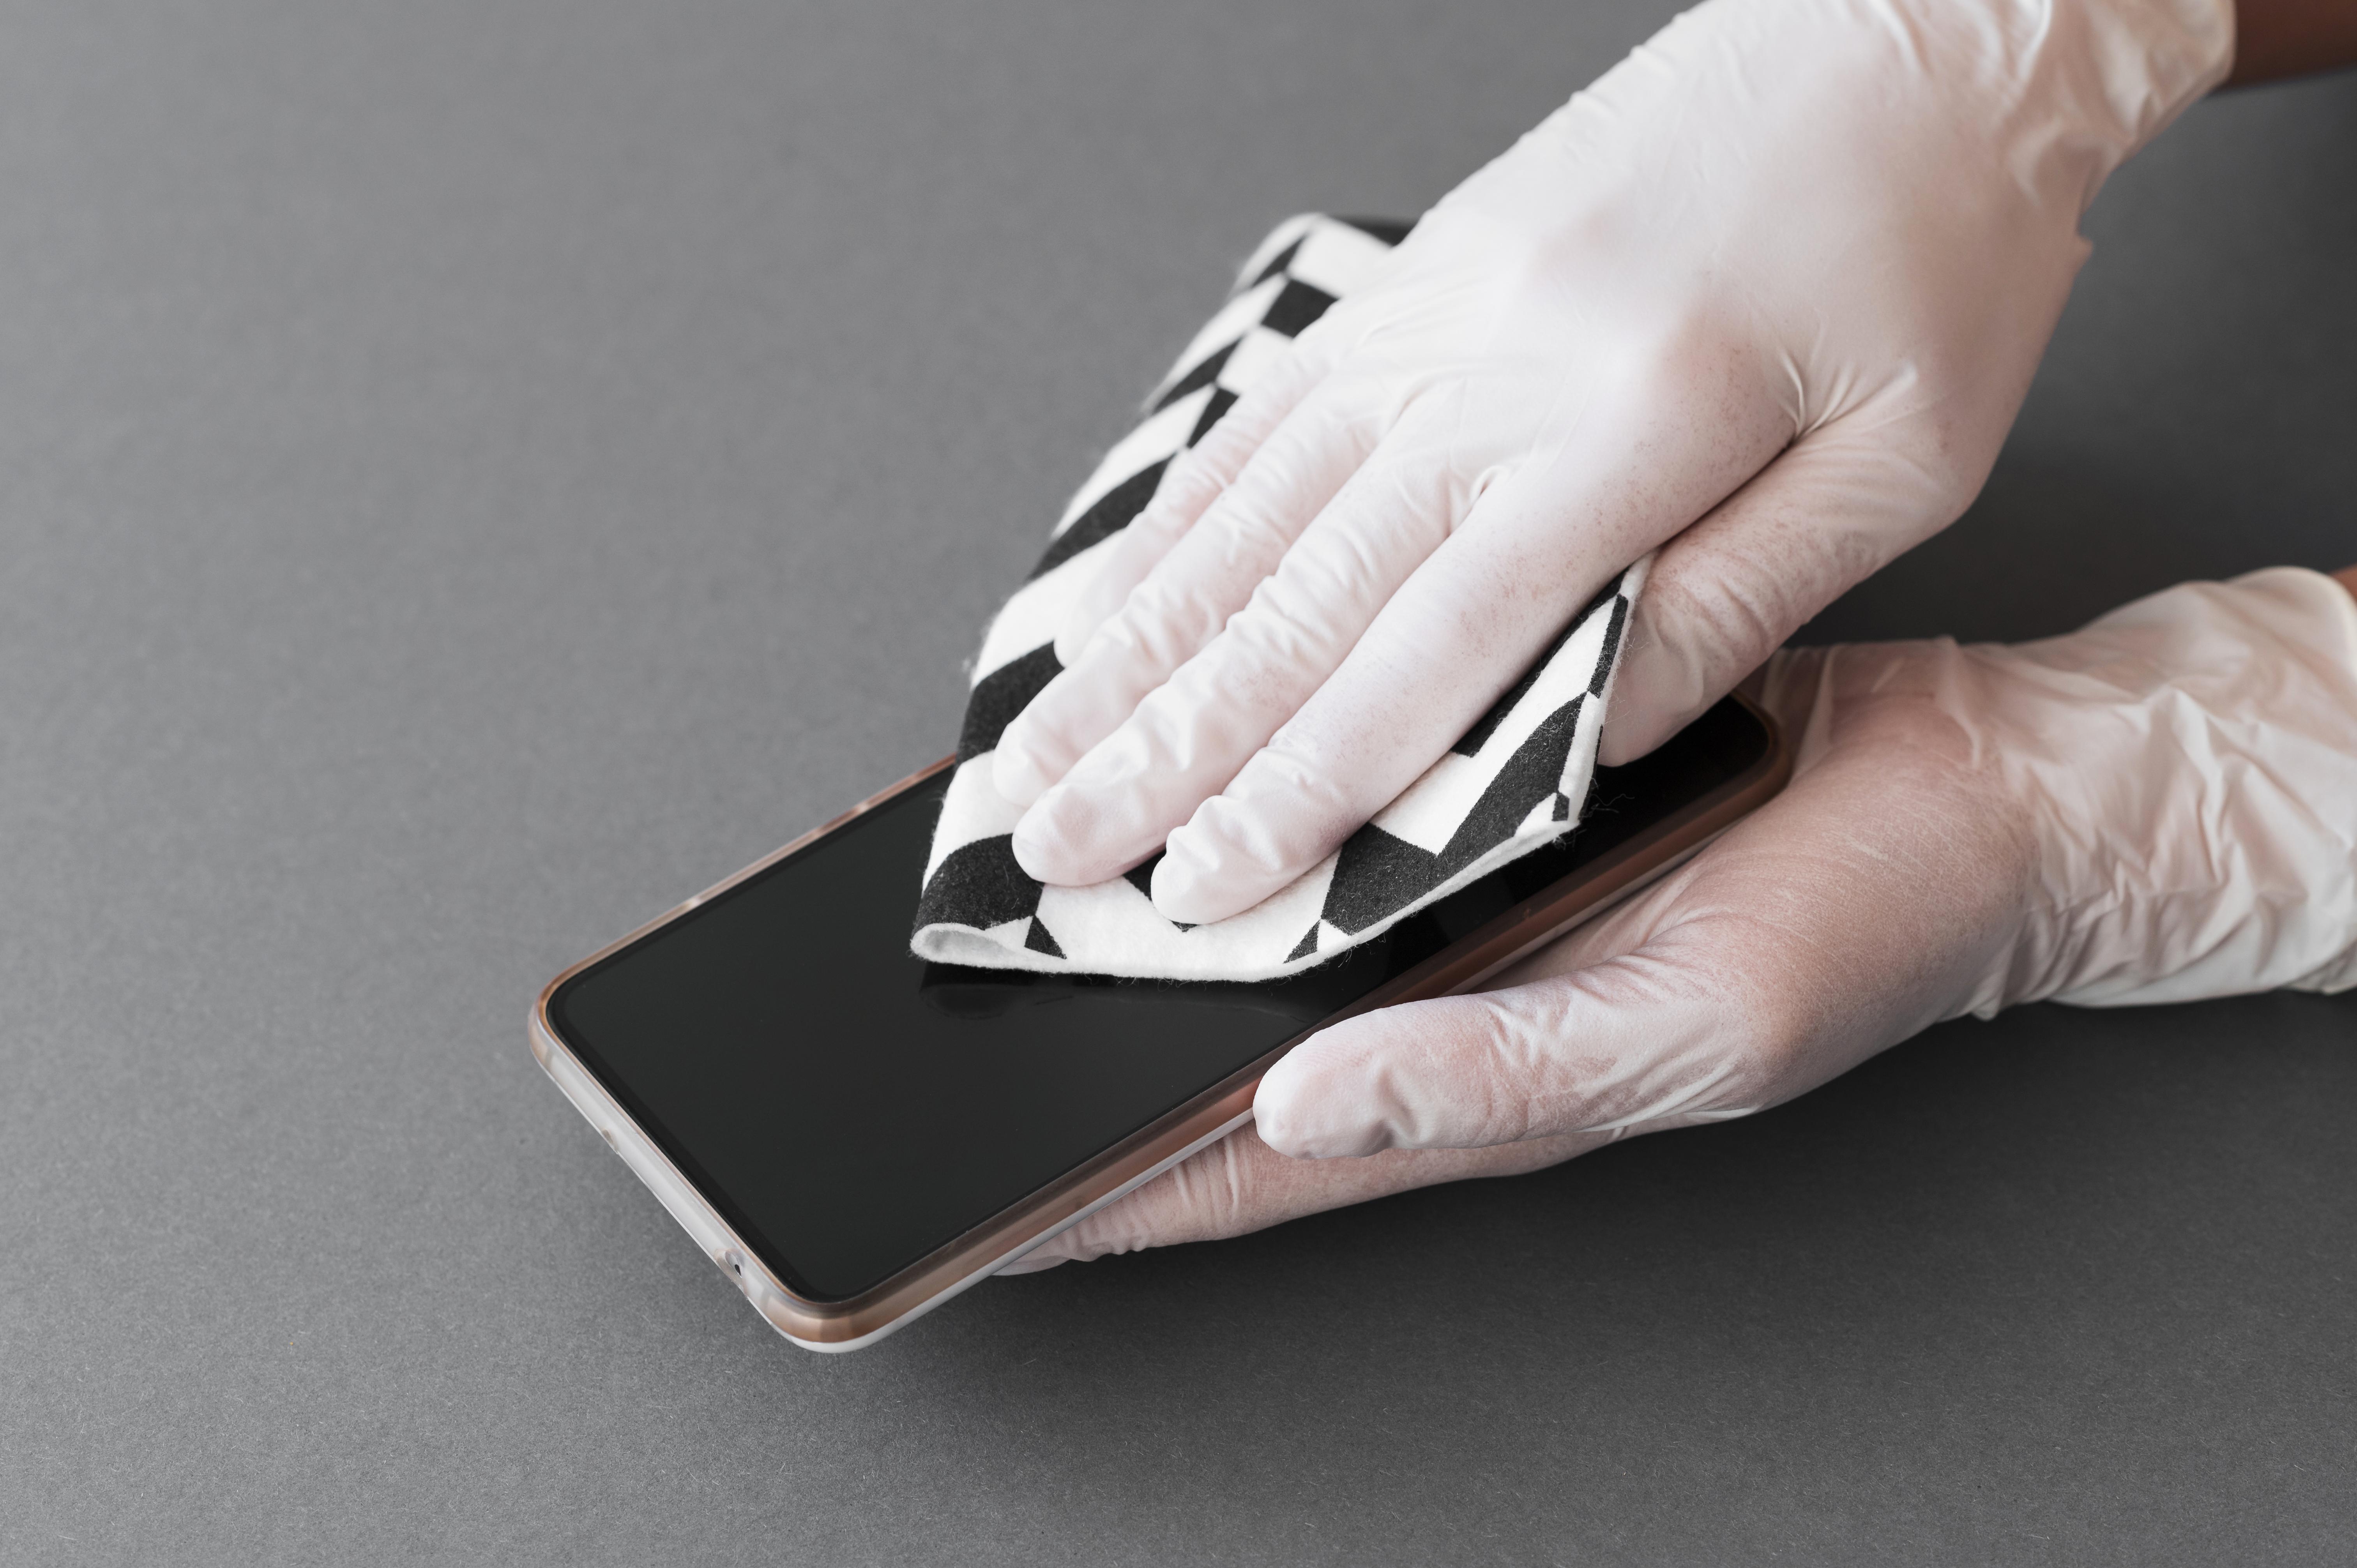
Use a microfiber cloth with a bit of mild soapy water to clean any adhesive residue or marks left on the screen. Ensure the screen is completely dry before applying a new protector or using the phone.
Patience is key during this process to avoid damaging the screen or leaving adhesive residue.
How to Reapply the Tempered Glass Screen Protector?
Align the Protector: Hold the edges of the protector to prevent fingerprints. Align it with the screen, ensuring that the cutouts for the camera, sensors, and buttons match.
Apply the Protector: Start by placing one end of the protector down onto the screen, then gently lay the rest of it down. If the protector is adhesive, it will stick on its own.
Remove Air Bubbles: If there are any bubbles, use a plastic card or your finger to gently push them toward the edges.
Final Touches: Once applied, double-check to ensure it fits correctly and that there are no bubbles. For stubborn bubbles, you can carefully lift the protector and reapply it.
However, it's best to avoid removing it and trying to reapply unless necessary. If you find the protector misaligned after 20 minutes, you can take it off and try again, but be mindful that repeated removals may weaken the adhesive. This can lead to corners lifting and dirt entering between the screen and the protector. If you feel you need to remove the protector after an hour, it's advisable to plan on getting a new one instead. For a device worth $800, it’s wise to purchase a replacement.
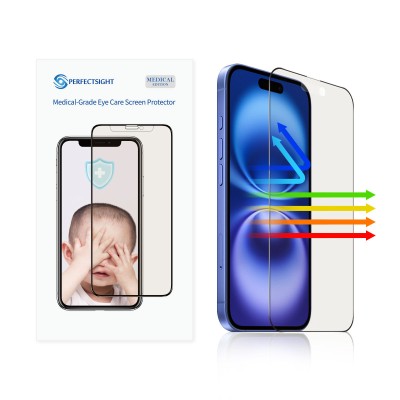
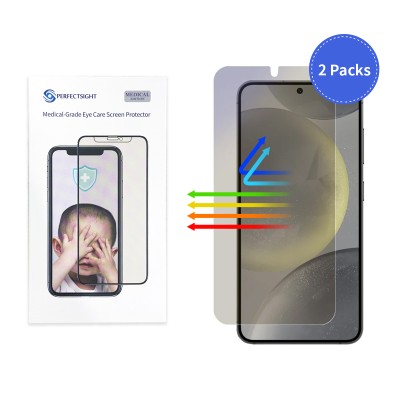
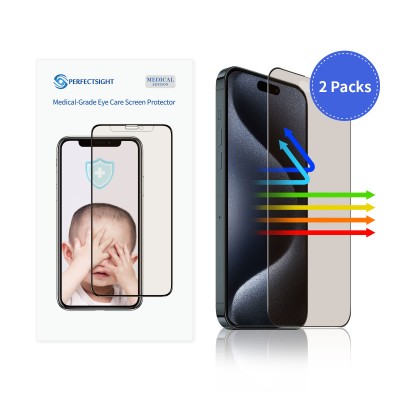
perfectsight iPhone screen protectors are designed to be easily removable, allowing for straightforward replacement or repositioning without leaving residue or causing damage to the device's screen. Click here to watch the video!
