How to Put a Screen Protector on iPhone Properly: Step-by-Step Guide and Tips
Installing a screen protector can seem intimidating, but with the right approach and tools, you can achieve a bubble-free, seamless application. This blog post will walk you through the necessary steps and share useful tips to ensure your screen protector is applied correctly.
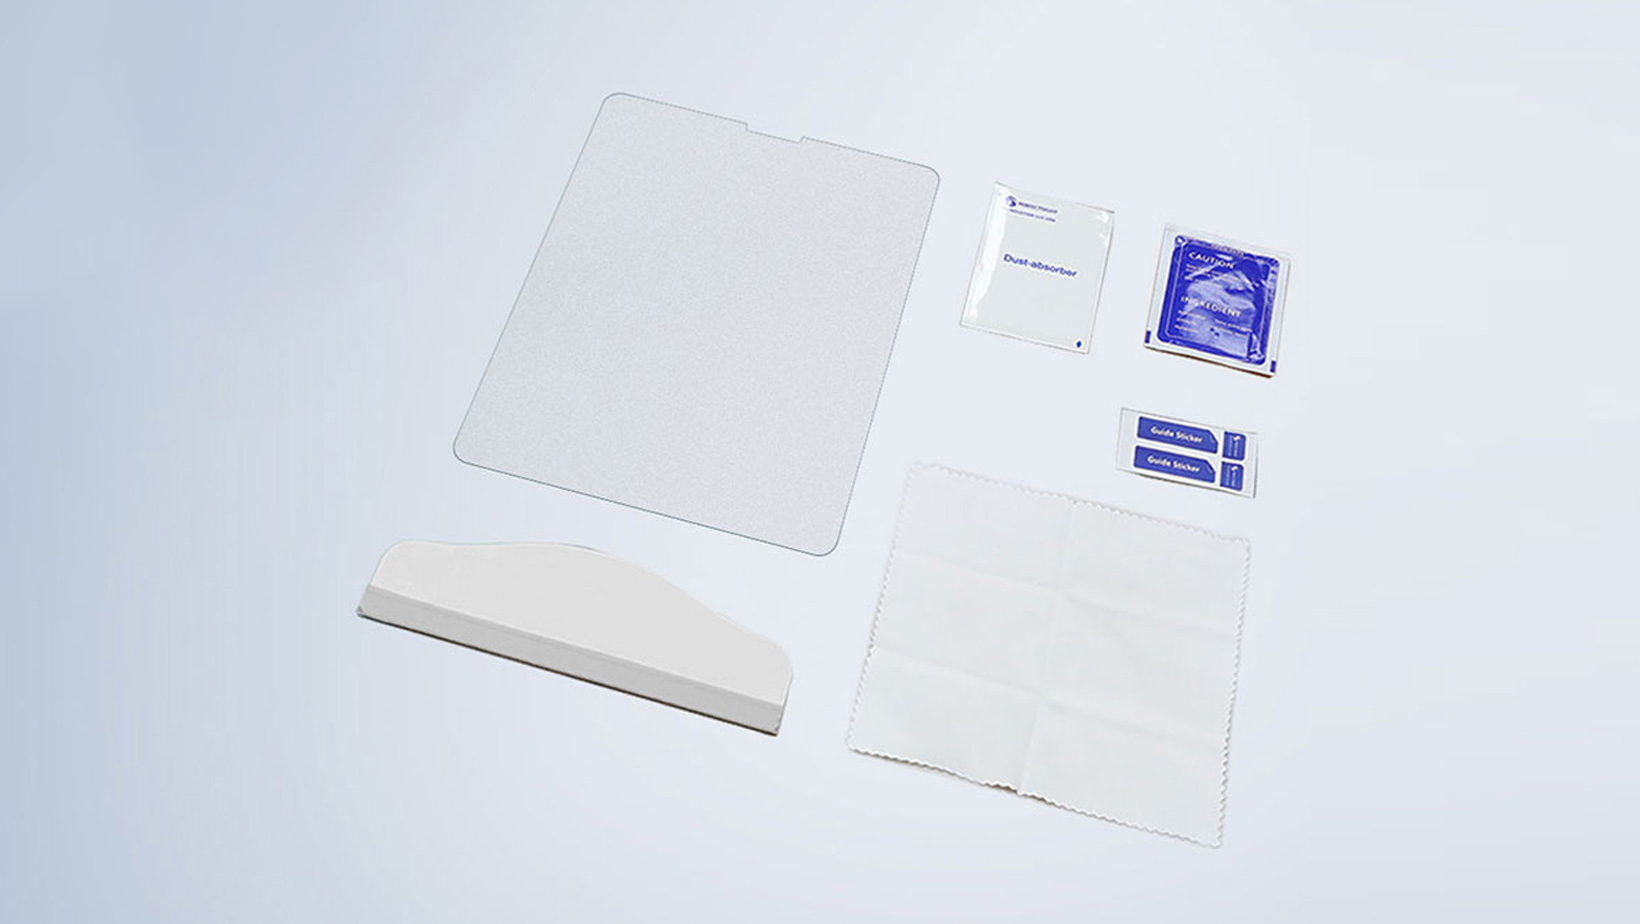
What You'll Need
Before starting the installation, gather the following materials:
Screen Protector, Cleaning Wipes, Dust Removal Stickers, Microfiber Cloth, Installation Guide
Step-by-Step Installation Process
Step 1: Clean Your Screen
Power Off Your Device: Always turn off your device before installation to prevent any accidental touches.
Use the Cleaning Wipes: Start by using the wet cleaning wipe to clean the screen thoroughly. This will remove fingerprints, smudges, and debris.
Dry the Screen: After using the wet wipe, take a dry cloth to wipe the screen and ensure it's completely dry.
Inspect the Surface: Check the screen for any dust particles. Even a small spot can cause bubbles.
Step 2: Remove Dust
Use Dust Removal Stickers: If you see any dust, use the provided dust removal stickers to lift them off the screen. Dab the sticker on the dirt to pick it up without smudging.
Step 3: Align the Screen Protector
Identify the Tabs: Most screen protectors have tabs that indicate which side will adhere to the screen. Usually, there's a protective film on each side.
Align Carefully: Hold the screen protector above the device's screen, aligning it with the edges and front camera/sensors. Make sure to leave the bottom edge or any notch for buttons unobstructed.

Step 4: Apply the Screen Protector
Peel Off the Backing: Carefully peel off the backing from the screen protector without touching the adhesive side.
Place the protector: Lower the protector onto the screen slowly, starting from one edge. Allow it to gradually settle down to avoid trapping air bubbles.
Press Out Bubbles: Use a credit card or the flat edge of a tool included with the package to gently push out any bubbles. Start from the center and work your way to the edges.
Step 5: Final Touches
Inspect the Protector: After pushing out bubbles, check for any imperfections. If you notice dust particles, gently lift the protector from the edge and reapply it.
Seal It: Once satisfied, press down firmly along the edges to ensure it adheres well to the screen.
Wipe Down the Surface: Finally, use a microfiber cloth to buff any smudges or fingerprints away from the surface.
Applying a screen protector may seem daunting, but following these steps and tips can simplify the process. Now that you're equipped with the knowledge to install a screen protector correctly, protect your device and enjoy worry-free use! Click the link to watch the video.
