
How to apply an iPad Pro/Air 6th screen protector without bubbles?
Installing a screen protector on your iPad Pro/Air 6th can seem daunting, but with the right approach, it’s a straightforward process that ensures your device remains protected from scratches, smudges, and other potential damage. Follow this detailed guide to install your iPad screen protector perfectly.
Step 1: Prepare Your Workspace
Choose a clean, flat, and well-lit workspace. A dust-free environment is ideal to prevent particles from getting trapped under the screen protector. Wash your hands thoroughly to avoid transferring oils and dirt to your iPad screen.
Step 2: Clean the iPad Screen
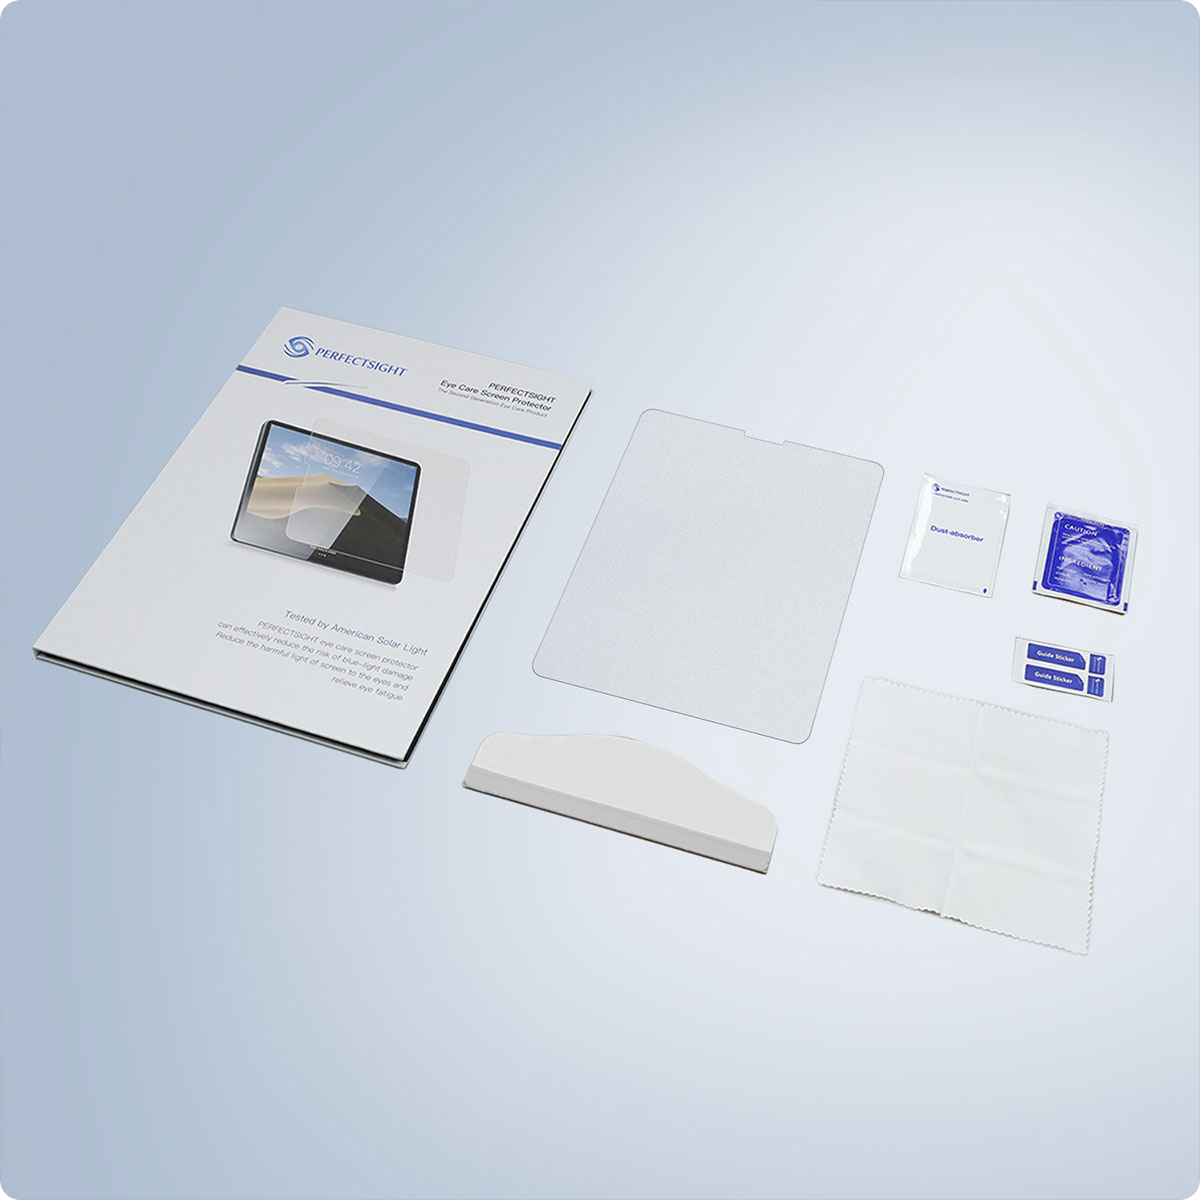
Use the cleaning wipes provided with your screen protector to thoroughly clean the iPad screen. Make sure to remove all smudges, fingerprints, and dust particles. Follow up with the microfiber cloth to dry the screen and ensure it’s spotless. Even a tiny speck of dust can cause bubbles under the protector, so take your time with this step.
Step 3: Use Dust Removal Stickers
To remove any remaining dust particles, use the dust removal stickers. Gently dab the sticky side of the sticker on the screen to lift any dust. Be meticulous and check the screen under good lighting to ensure it’s completely clean.
Step 4: Align the Screen Protector
Carefully remove the backing from the screen protector, exposing the adhesive side. Be cautious not to touch the adhesive surface. Align the screen protector with your iPad, ensuring the cutouts for the camera, home button, and sensors match perfectly. Start by aligning one edge, typically the top or bottom, and gradually lower the screen protector onto the iPad.
Step 5: Apply the Screen Protector
Once aligned, gently press the center of the screen protector. The adhesive will start to bond with the iPad screen, pushing outwards. Use the squeegee or a credit card wrapped in a microfiber cloth to smooth out the protector, working from the center towards the edges to remove air bubbles.
Step 6: Remove Air Bubbles
If any air bubbles remain, use the squeegee or credit card to push them towards the edges. For stubborn bubbles, lift the nearest edge of the screen protector slightly and reapply, ensuring no dust enters the space.
Step 7: Final Inspection
Inspect the screen protector for any remaining dust or bubbles. If necessary, use the dust removal stickers to lift the edge and remove any particles. Smooth out the protector again for a perfect finish.
Tips for a Perfect Installation:
Perform the installation in a steamy bathroom. The steam helps settle dust particles, reducing the chance of them getting trapped under the screen protector.
Use a guiding tool if included with your screen protector for precise alignment.
Be patient and take your time. Rushing can result in misalignment or trapped dust.
Conclusion
Installing a screen protector on your iPad might require some patience and precision, but the effort pays off with enhanced protection and a pristine screen. Follow these steps carefully, and you’ll have a bubble-free, perfectly aligned screen protector in no time. Enjoy the peace of mind that comes with knowing your iPad is protected from daily wear and tear! Click to watch the video.
