

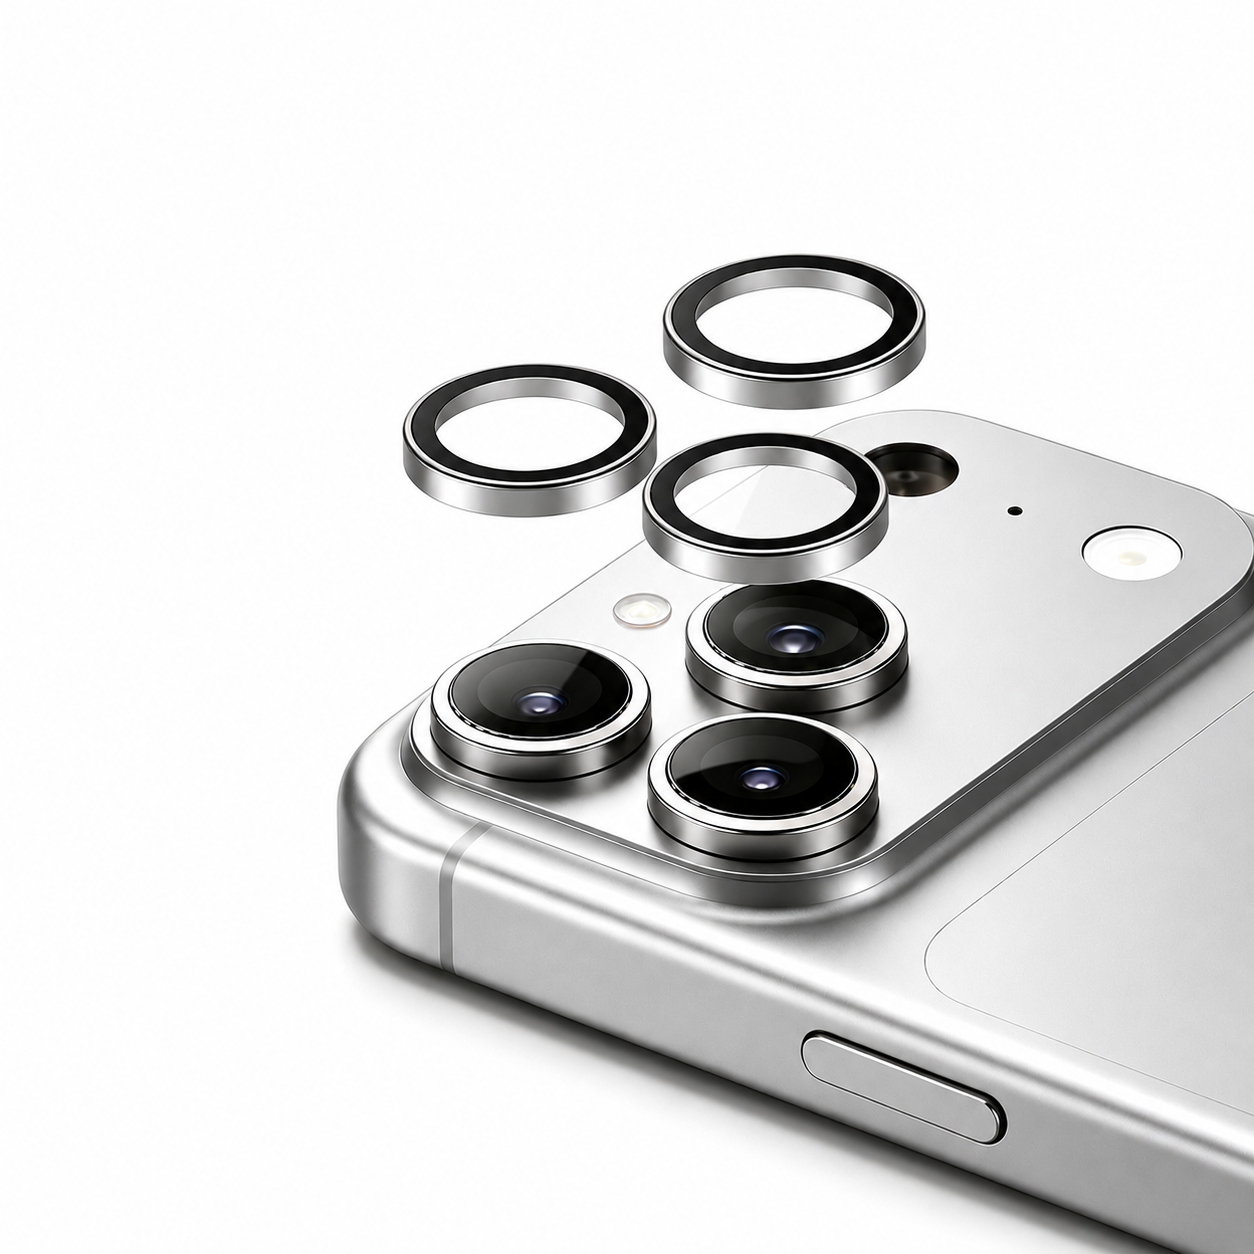
Modern smartphones, like the iPhone 17 and Samsung Galaxy S26 series, feature incredible pro-level camera systems. But as camera bumps get larger and more advanced, they also become more vulnerable to scratches, cracks, and daily wear and tear.
If you want to protect your expensive device without sacrificing photo quality, there is one premium solution: the Sapphire Lens Protector.
What is a Sapphire Lens Protector?
When you hear "sapphire," you might think of a blue gemstone. However, in the tech world, sapphire refers to synthetic sapphire glass.
Created in a laboratory, synthetic sapphire possesses the same physical properties as natural sapphire. Its defining characteristic is its extreme durability. On the Mohs scale of mineral hardness, sapphire scores a 9—making it second only to diamond (which scores a 10).
Unmatched Scratch Resistance: Everyday items in your pocket or bag—like keys, coins, and sand—can easily scratch standard glass or plastic protectors. Because sapphire is exceptionally hard, it is nearly impossible to scratch with everyday objects.
Shatter and Impact Protection: A hard drop can easily shatter an exposed camera lens, leading to hundreds of dollars in repair costs. A sapphire protector acts as a sacrificial layer, absorbing the shock of the impact to keep your actual camera lens safe.
How to Safely Remove a Lens Protector?
Eventually, you may need to remove your lens protector—perhaps it took the brunt of a heavy drop, or maybe you are preparing to sell your phone.
While traditional guides suggest tedious methods like using a hairdryer to melt adhesive, followed by dental floss or a credit card to pry the glass off, these hacks can be frustrating and risk scratching your phone's bezel.
Our premium Sapphire Lens Protectors come with an exclusive, custom-designed Removal Plate included right in the box. You don't need heat, and you don't need makeshift tools.
Here is the safest, fastest way to remove your lens protector using only our included tool:
Step 1: Position the Removal Plate
Take the customized removal Plate that came with your packaging. Unlike thick credit cards or sharp metal objects, our plate features a precision-engineered edge designed specifically for this task. Align the edge of the plate with the tiny gap between the lens protector and the camera base.
Step 2: Slide and Gently Pry
Carefully slip the edge of the removal plate underneath the rim of the lens protector. Once inserted, apply a slow, gentle upward pressure. The plate is designed to safely break the adhesive seal without damaging your phone.
Step 3: Lift the Protector Off
Work the tool slightly around the edge of the lens if needed, and let the tool do the work for you. Do not rush or pull forcefully. Within seconds, the lens protector will pop right off.
Step 4: Wipe the Lens Clean
Once the protector is off, you might notice a little bit of leftover adhesive. Simply use a microfiber cloth and an alcohol prep pad (or a drop of rubbing alcohol) to gently wipe the camera lenses in a circular motion until they are completely clean, shiny, and ready for a fresh protector.
Share:
The Heated Glass Mouse Pad You Didn’t Know You Needed
The Best iPhone Cases for Every Lifestyle