
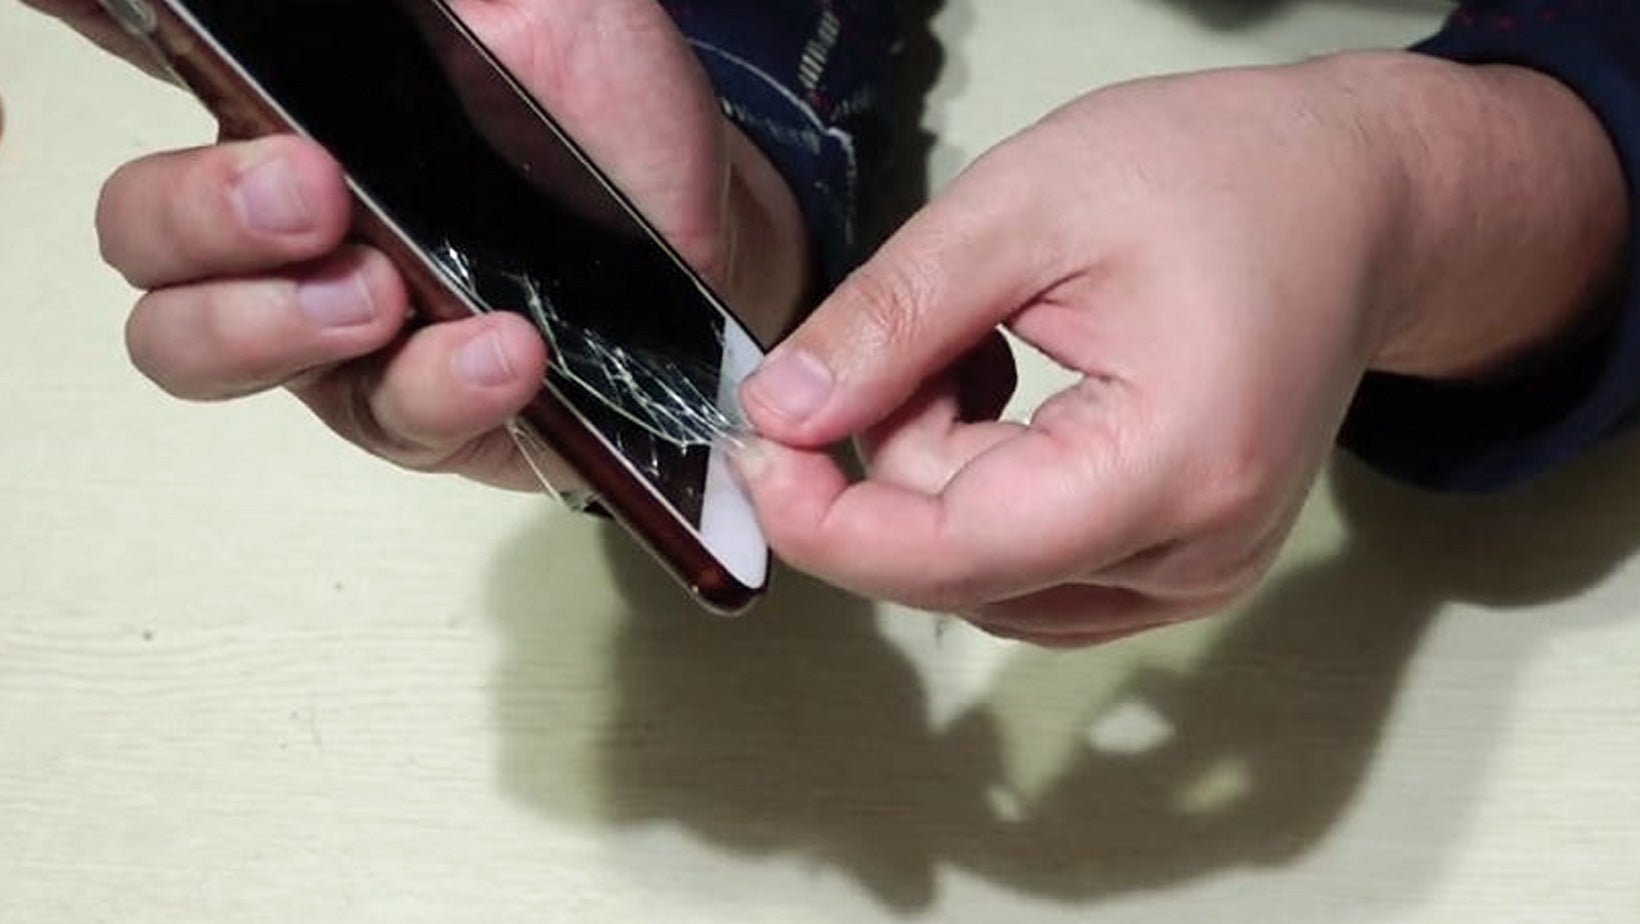
Cleaning the adhesive side of your screen protector is critical to ensuring better adhesion when it is reapplied. Over time, dust, lint, and other debris can build up on the adhesive surface, which can affect its effectiveness. Below is a step-by-step guide on how to properly clean the adhesive side of your screen protector.
Supplies needed:
- Microfiber cloth: ONLY for cleaning the non-adhesive front side of the screen protector and your phone's screen.
- Dust-removal stickers / Painter's tape: For safely lifting dust off the sticky adhesive side without leaving lint.
- Mild dish soap or distilled water: To gently wash away stubborn oil or residue on the adhesive layer.
- Alcohol wipe / Spray: ONLY for cleaning your phone's screen before reapplication.
Step 1: Remove the Screen Protector
Carefully remove the screen protector from the device. Starting from one corner, lift it up slowly using your fingernail or a thin plastic card. Be sure to hold it gently, as removing it with force may cause the screen protector to bend or snap.
Step 2: Clean the Front (Non-Adhesive) Glass
After removing the screen protector, inspect both sides. Use a microfiber cloth to gently wipe the non-adhesive front side to remove grease, fingerprints, and surface dust.
Step 3: Remove Dust from the Adhesive Side Using Tape
To clean the sticky side without leaving fibers behind, use a dust-removal sticker, painter's tape, or Scotch magic tape:
Gently dab the tape: Lightly press and lift the tape on the sticky surface. Do not drag or rub it. To remove stubborn dust, repeat this dabbing motion across all affected areas until the adhesive layer is clean.
Step 4: Wash Away Stubborn Residue (Optional Wet Method)
If there are oily smudges or heavy grime that tape cannot lift, rinse the sticky side under lukewarm distilled water with a drop of mild dish soap. Use the soft pads of your clean fingers to gently massage the grime away. (Note: Avoid using cotton swabs, paper towels, or cloths on the adhesive layer, as they will leave loose lint stuck to the glue.)
Step 5: Air-Dry the Screen Protector
After cleaning, place the screen protector in a clean, dust-free room and allow the sticky side to air dry completely. Do not wipe the sticky side dry with towels.
Step 6: Thoroughly Clean Your Phone Screen
Before reapplication, make sure your phone screen is 100% clean. Use an alcohol wipe to remove grease, buff it dry with a microfiber cloth, and use a dust-removal sticker to pick up any specks of dust on the display.
Step 7: Reapply the Screen Protector
Once the sticky side is completely dry and clean, it's time to reapply it to your device. Carefully align the protector with your device's screen and gently press down from the center outward to push out air bubbles.
Cleaning the sticky side of a screen protector may seem tricky, but by following these simple steps, you can ensure an effective bond and extend the life of your screen protector.
Share:
When Should You Replace Your Glass Screen Protector?
How to Remove a Screen Protector Without Air Bubbles?